
Maybe you’ve just wrapped up your amazing homebrew adventure, and your players are telling you, “You should totally publish that!” Maybe you’ve had an incredible idea simmering in the back of your mind, and you’re burning to share it. Maybe you read a book or saw a movie, and thought: that would be great for my RPG. And now you’re wondering, So what do I do next?
Getting from idea to published adventure will take time, patience, and organization. Writing an adventure for someone else to run is as much about good writing and communication as it is about being a dynamic GM with cool ideas.
This guide outlines a process you can follow along with using LegendKeeper, a complete writing platform for Game Masters. If you are interested, you can sign up and try LegendKeeper for free to follow along. The principles are the same no matter what tools you choose to use.
With the right tools and a thoughtful process, putting your ideas on the page can be an amazing way to share your epic imagination with the world. Let’s get started.
Part I: Organize your ideas
These steps include a lot of pre-planning, organizing, and pre-writing. Doing this preparation means that when you sit down to write the adventure, you’ll be able to focus on creating a dynamic world that players will love to explore.
1. Set the mood
Have you ever gotten excited to switch to “battle music” as soon as your party angered the local bad guy? Then you’ll get why setting the mood is a critical part of pre-writing. And it can be a great resource to help other people understand the atmosphere of the adventure you’re creating.
Find or create a playlist that evokes the themes, moods, and vibe of your adventure. This can be as simple as finding a video game or movie soundtrack that reminds you of your adventure, or searching Spotify for, say, “ambient cyberpunk” or “epic movie scores”.
If you want to make a project out of it, start a brand new playlist and populate it track by track. For inspiration, check out LegendKeeper’s Spotify playlist for the example project Corvus Canticum’s Natural History.
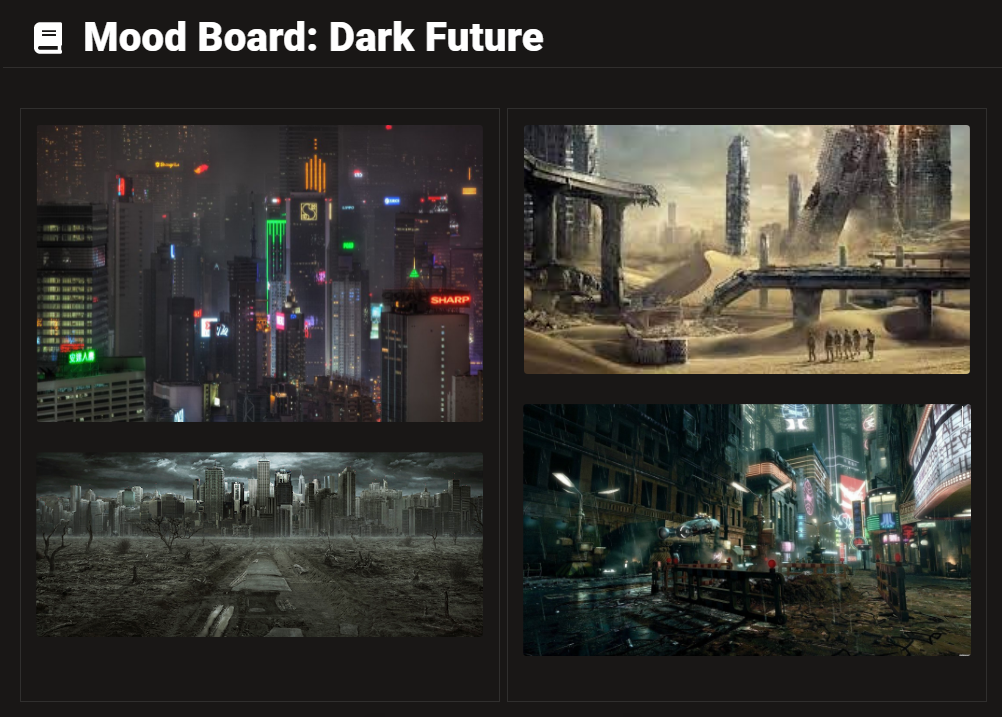
Next up is a mood board. Find images that evoke a mood or feeling or portray something that more literally reminds you of your story. If it’s set in a marshy wetland, throw some evocative swamp pics in there. If it takes place in a Blade Runner-esque future, find beautifully dark cityscapes laced with neon. Create a new page in LegendKeeper and add your images, or copy and paste them into any image editor. Name it something evocative, like “SpoOoky Swamp” or “Dark Future.”
2. Map the flow of your adventure.
Now it’s time to make a visual outline. A flow chart is the perfect tool, as it allows you to capture an adventure’s multiplicity of triggering events, pathways, and possible outcomes. If you’ve run games before, you know that even a relatively linear adventure can still have many intersecting storylines and multiple “if this, then that” events.
LegendKeeper Boards are built to make this kind of adventure flowchart easy and beautiful. If you build each segment of your flowchart as a wiki page, LegendKeeper can automatically link to those pages for all the key moments of your plot.
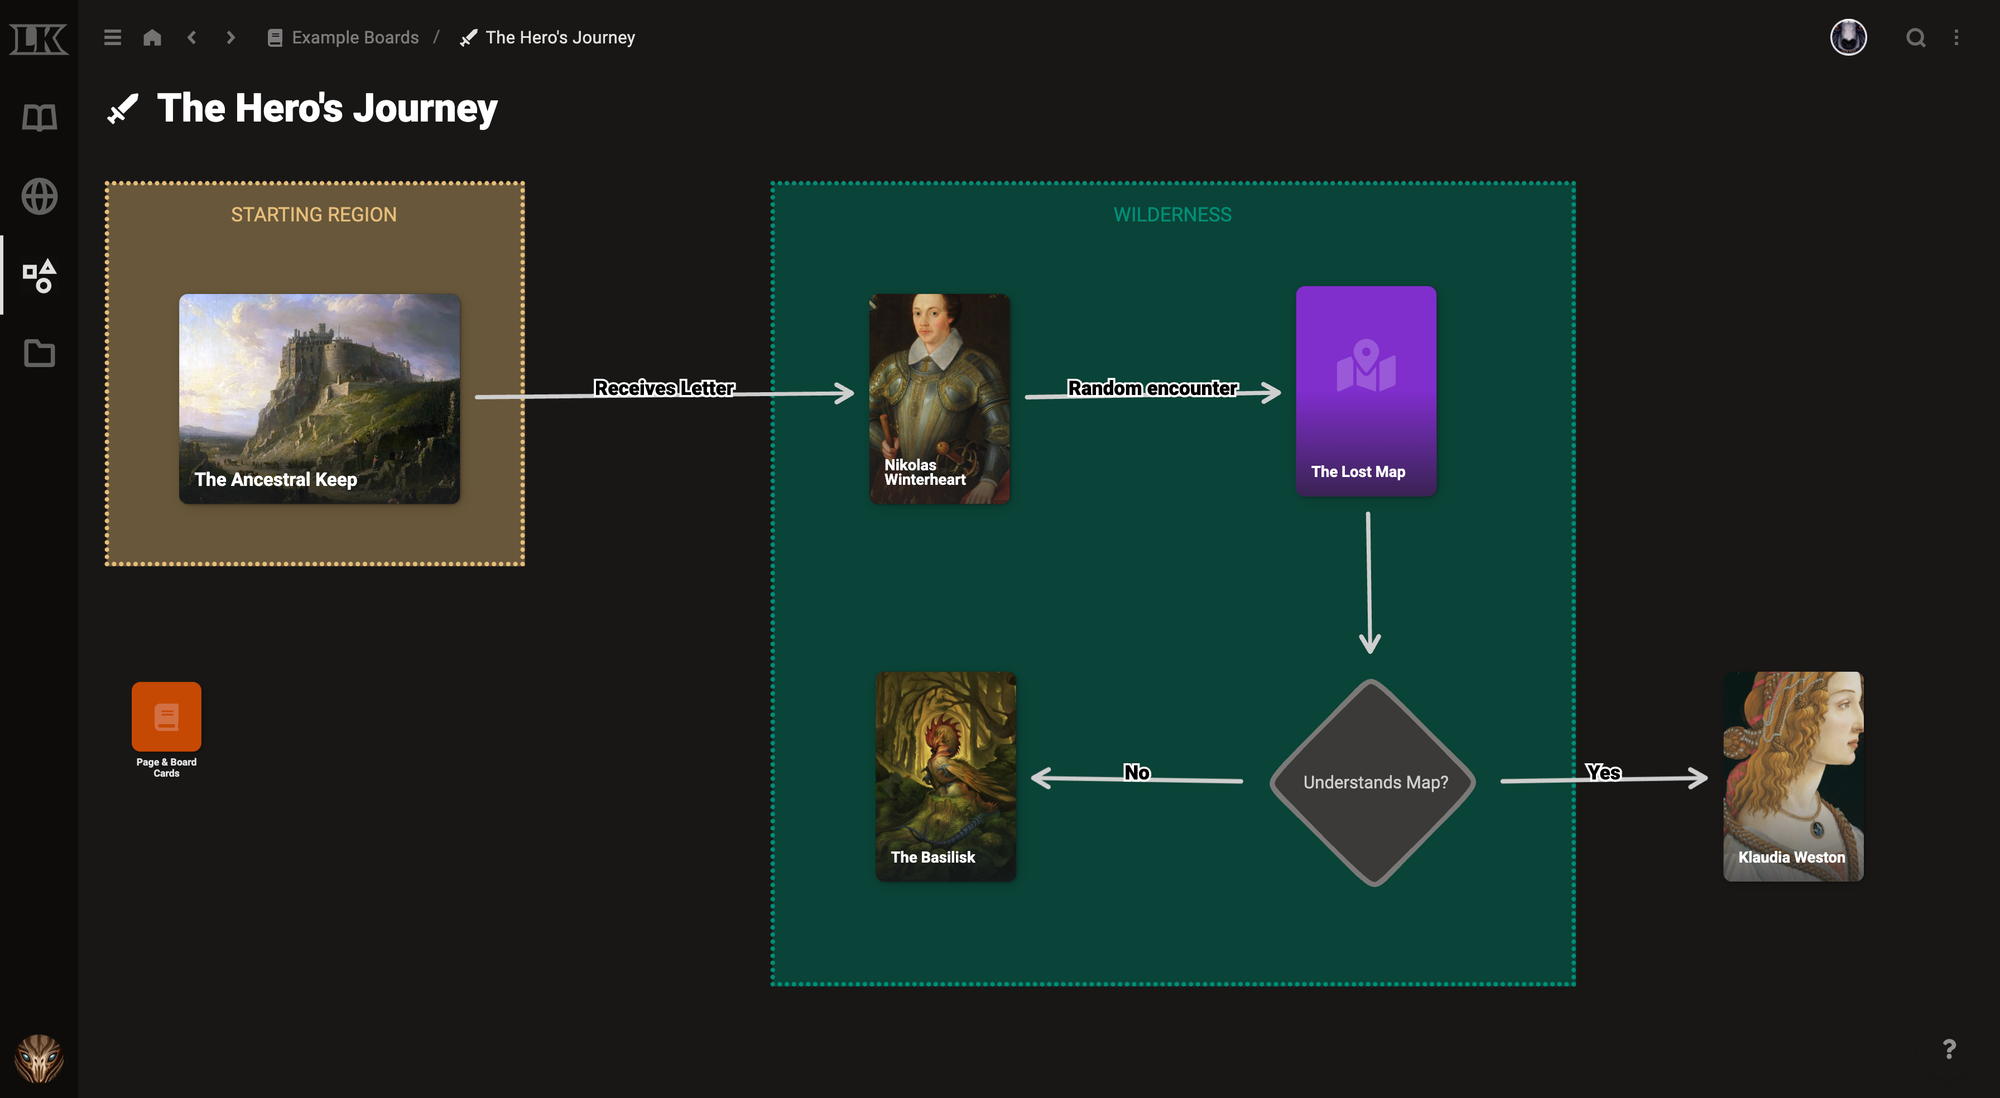

As you build out your adventure, you’ll be able to easily link all the elements of your adventure together. By the time you’re finished, your connected chart can be an invaluable resource to anyone running your game.
3. And now for the outline!
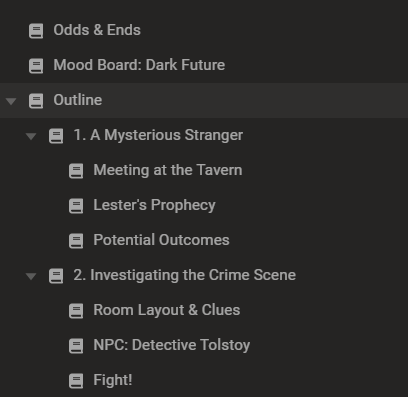
Create a page in your LegendKeeper called “Outline”. This is the last step of pre-writing preparation, and it’s time to think about how you’ll present your information to the reader. Consider what should be presented up front, keeping in mind that your readers are game masters – make sure to clearly explain any secrets or surprises, so they can lay the groundwork for their players.
Existing adventures for D&D 5e typically include an introduction, synopsis, cast of characters, boxed text for the GM to read aloud, maybe some appendices, and often follow a three-act structure of setup followed by conflict followed by resolution. In fact, you already built a basic structure in your flowchart.
LegendKeeper Tip: Each item on your flowchart already has its own page.
Break your outline into as many segments as you want, with a separate page for each segment. LegendKeeper’s nesting pages will allow you to organize your thoughts in chunks as large or tiny as you’d like. For each act of your adventure, be sure to include likely encounters, important NPCs, key locations, and any other story points the PCs might stumble upon.
LegendKeeper Tip: Be sure to use autolinking so you can quickly and easily flip back and forth between connected story elements. Type "/autolink" on any Wiki page to scan for links.
Tip: Keep everything
Even if you decide to scrap something you’ve written, it may work for a future project or get your brain going when you feel stuck. Instead of scrapping those future gems, make a page called “Odds and Ends” or “Miscellaneous”, where you throw all your discarded ideas, adventure fragments, pieces of encounters or ideas for NPCs.
4. Start building your world
This is the moment your flowcharting, outlining, moodboarding, and soundtrack-selecting start to coalesce into a world that feels real and inhabited.
Create a page in LegendKeeper for each important element of the world of your adventure. This will probably mean having a parent page each for NPCs, Locations, Encounters, Monsters/Enemies, and Organizations or Factions. LK’s tagging system is a great way to stay organized. For example, every NPC can have any number of descriptive tags, like “shop owner,” “city council member,” “secret villain,” etc. Then any time you want to see all the city council members, just filter the sidebar by that tag.
Don’t feel like you have to get every detail of your world down now. You will add to this as you write.
Tip: Keep your scope small
Lots of GMs have ideas for huge stories that span entire multiverses. But most of us have to balance jobs, family, commuting, sleep, and so on. So when it comes to your first project, the smaller your scope, the more likely you are to finish it. Start with a one-shot.
To shrink your scope even more, have your one-shot take place in a single location, like a bottle episode of your favorite TV show. A murder mystery in a mansion, an escape from a prison, or a perilous crawl through a city’s sewer system? Yes, please!
Part II: Writing, Resources, and Testing
1. Start writing
With your flowchart and outline handy, your playlist going, and your lore and worldbuilding neatly organized, it’s time to dive in. Thanks to all your preparation, you’ve already done a lot of the work. Take a look through your outline and flowchart, and start polishing. How would you explain each section to a friend? What advice can you give to the gamemaster about the mood, characters, and perils of your adventure?
Tip: You will get stuck. Make a plan.
Sooner or later, you’ll probably get stuck. But hitting a wall can be an opportunity for restoration and generation. Try one of these:
- Reconnect to your original ideas by throwing on your playlist and browsing your mood board.
- Skip to another section and start writing there. Because your adventure and lore are so well organized in LegendKeeper, you can write out of order without messing up continuity or causing confusion.
- Go through your “Odds and Ends” page that you set aside during the pre-writing process. Even if it’s off-topic, explore that subject to get your ideas flowing again.
2. Create some maps
Even if you usually rely on theatre of the mind or don’t consider yourself much of a cartographer, sketching something out even briefly and adding a screengrab to a page in your LegendKeeper project will help you keep your descriptions of places consistent. You can decide later if you want your adventure to include a proper map.
If the layout of any of your locations is important or complicated, it’s a good idea to include a map. If layout is not important, you can consider skipping it. This is where playtesting will come in handy - it will help you learn what matters.
LegendKeeper includes built-in sample maps to help you try out the Atlas or get some inspiration. You can't use those maps for your own published adventures, but you can make your own using a simple app like Dungeon Scrawl or a more feature-rich one like Inkarnate. Once you import them to LegendKeeper you can drop pins, label them, link them to pages in your project, and so on.
3. Playtest and edit
Run your adventure once or twice. If you have a friend who can playtest your adventure as a GM, that’s even better. Every playthrough will yield ideas and feedback that can improve your writing for future GMs. Once you’ve playtested or just taken a few days or weeks away from your draft, come back with fresh eyes, make changes and adjustments as needed for story, plot, and mechanics, as well as grammar and style.
Congratulations, you wrote an adventure!