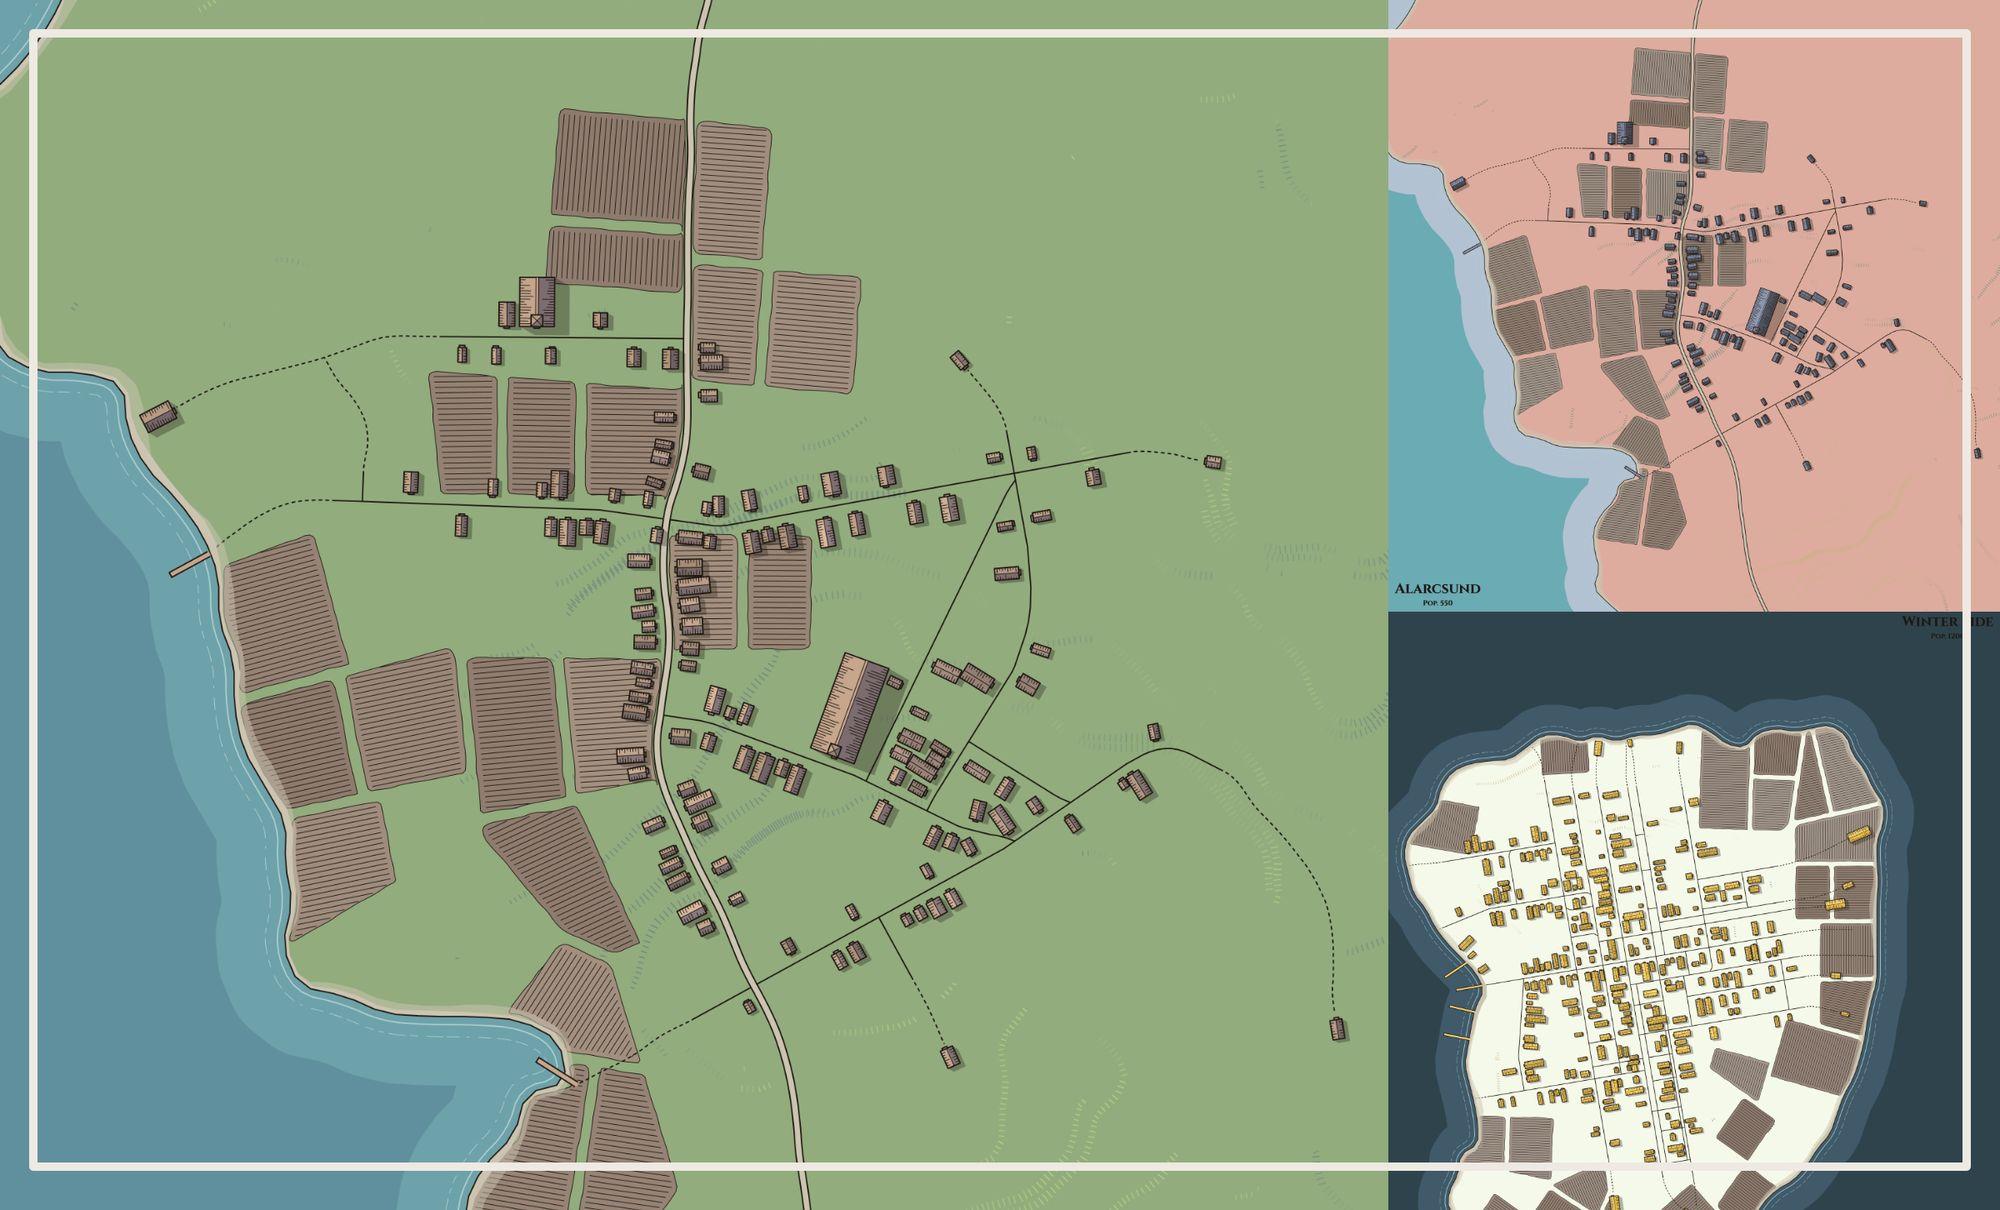
In today's newsletter we are going to use Watabou's village generator to create a map in seconds. We will then use the map settings and a color scheme generator to add our own flair.
Random generators are an indispensable tool for busy worldbuilders. Watabou is one of the best generator developers out there! They have a number of generators you can use for free. The village generator is the perfect tool to build your own D&D town map in just a few minutes.
Step 1: Generate the village
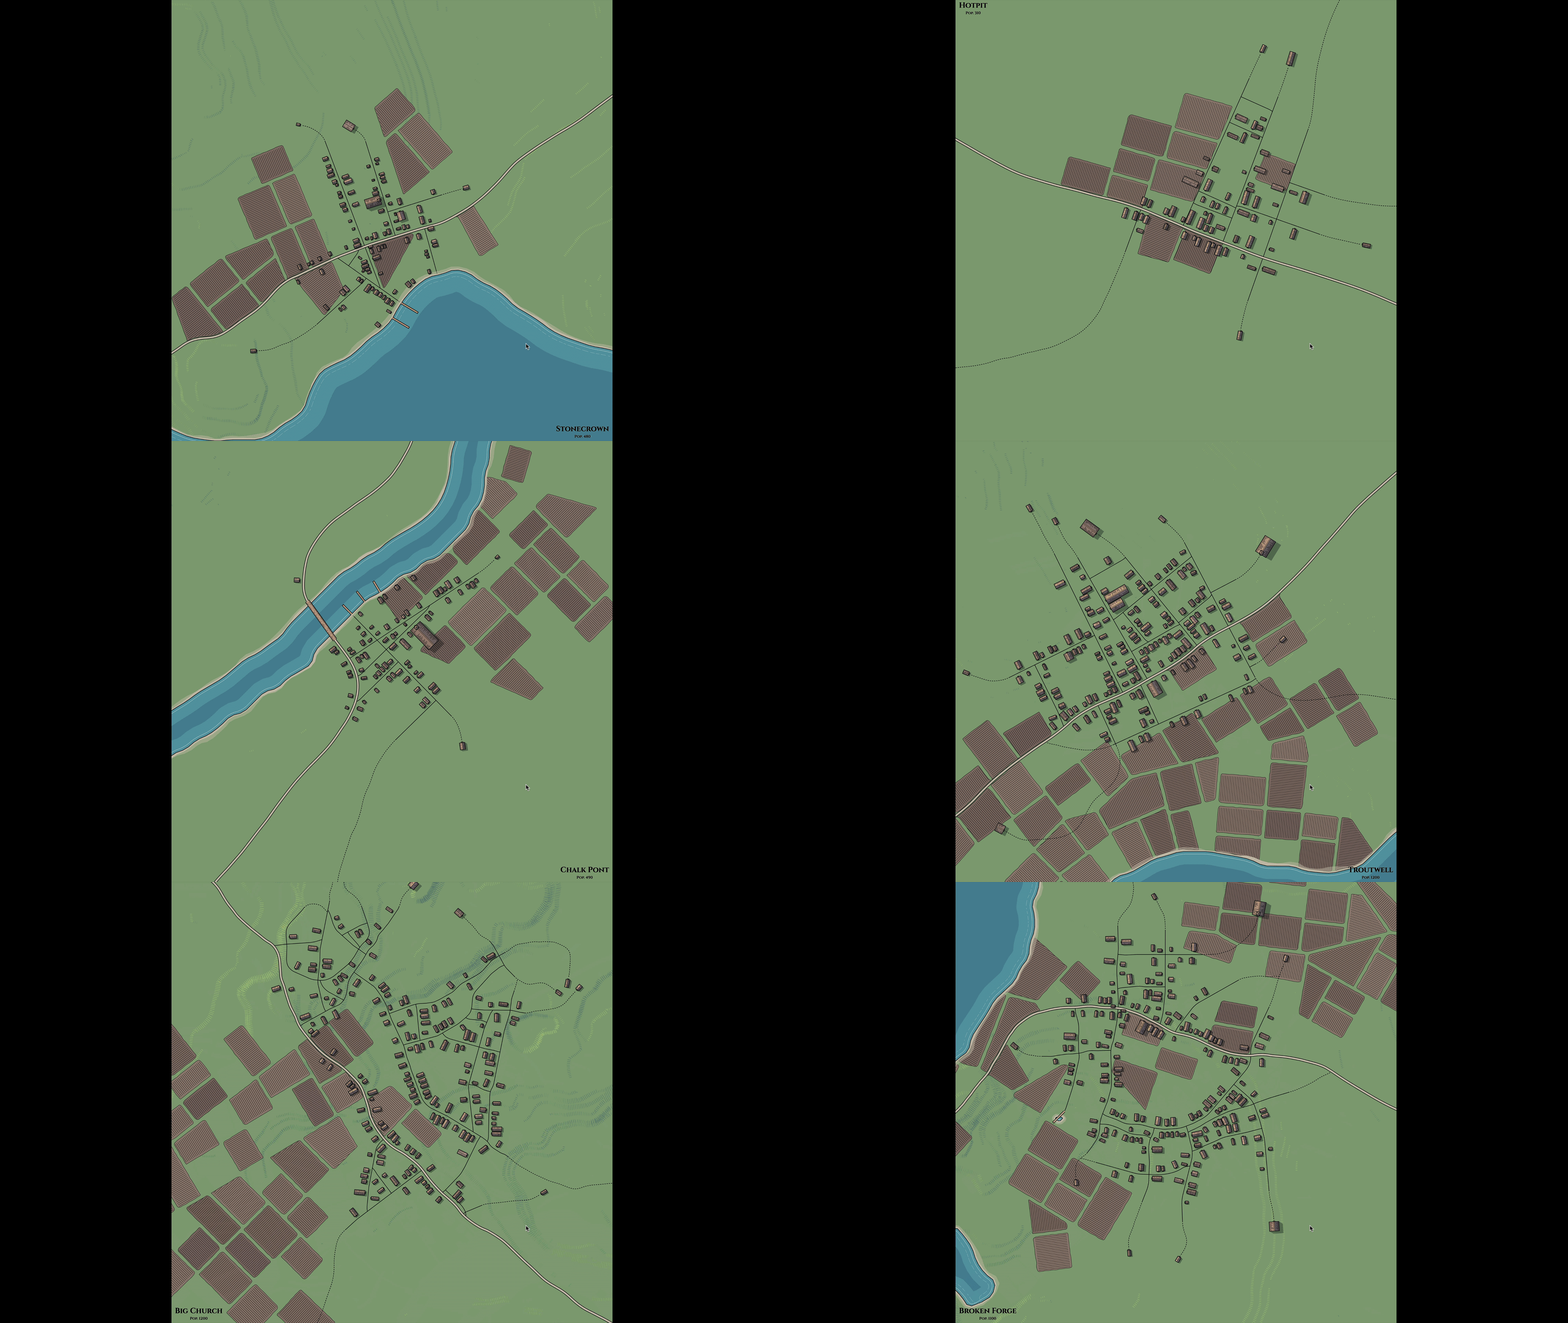
Today, we will start with the village generator. Navigate to the generator, click on the map, then start pressing ENTER to generate maps.
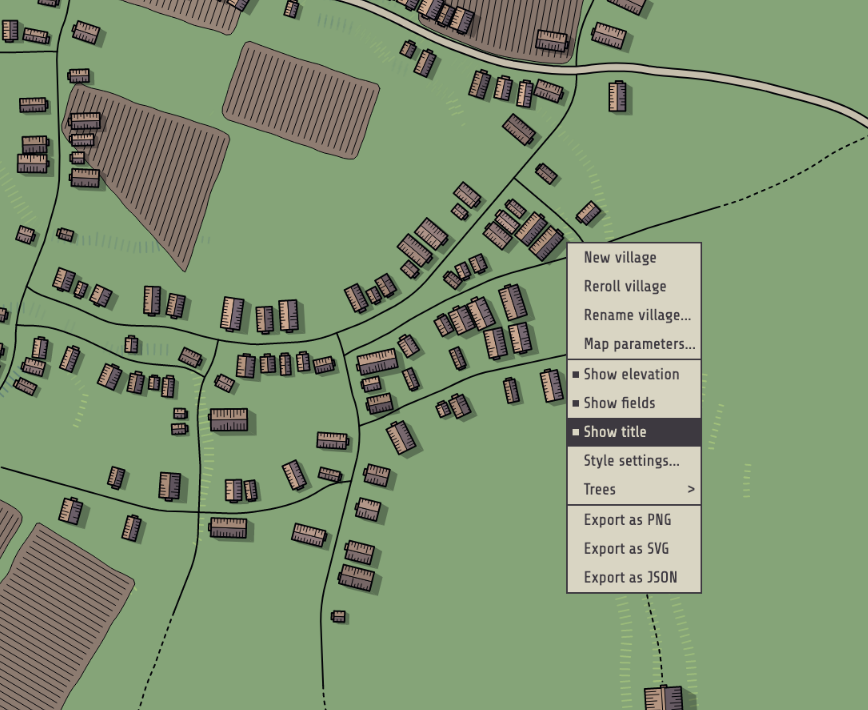
If you want to hide the name of the town, you can right-click to make the settings dialogue appear. Click on "Show Title" and it will go away.
You can also add trees using the settings dialogue. In my opinion, the villages look much better with some tree cover (assuming you don't want a desert-like village). Go to "Trees" and try some of those options.

Step 2: Generate a color palette
At this point you could select "Export as PNG" and walk away with a really nice looking village map. The default color scheme is quite nice! But we will make it our own by adding a delightful color palette.
Designing your own color palette from scratch is a big job (we will save the color theory discussions for a future newsletter). Thankfully, there are generators to help us with this!
I've used more than 20 color palette creators throughout my career, and nothing has ever come close to Coolors. This generator is a joy to work with.
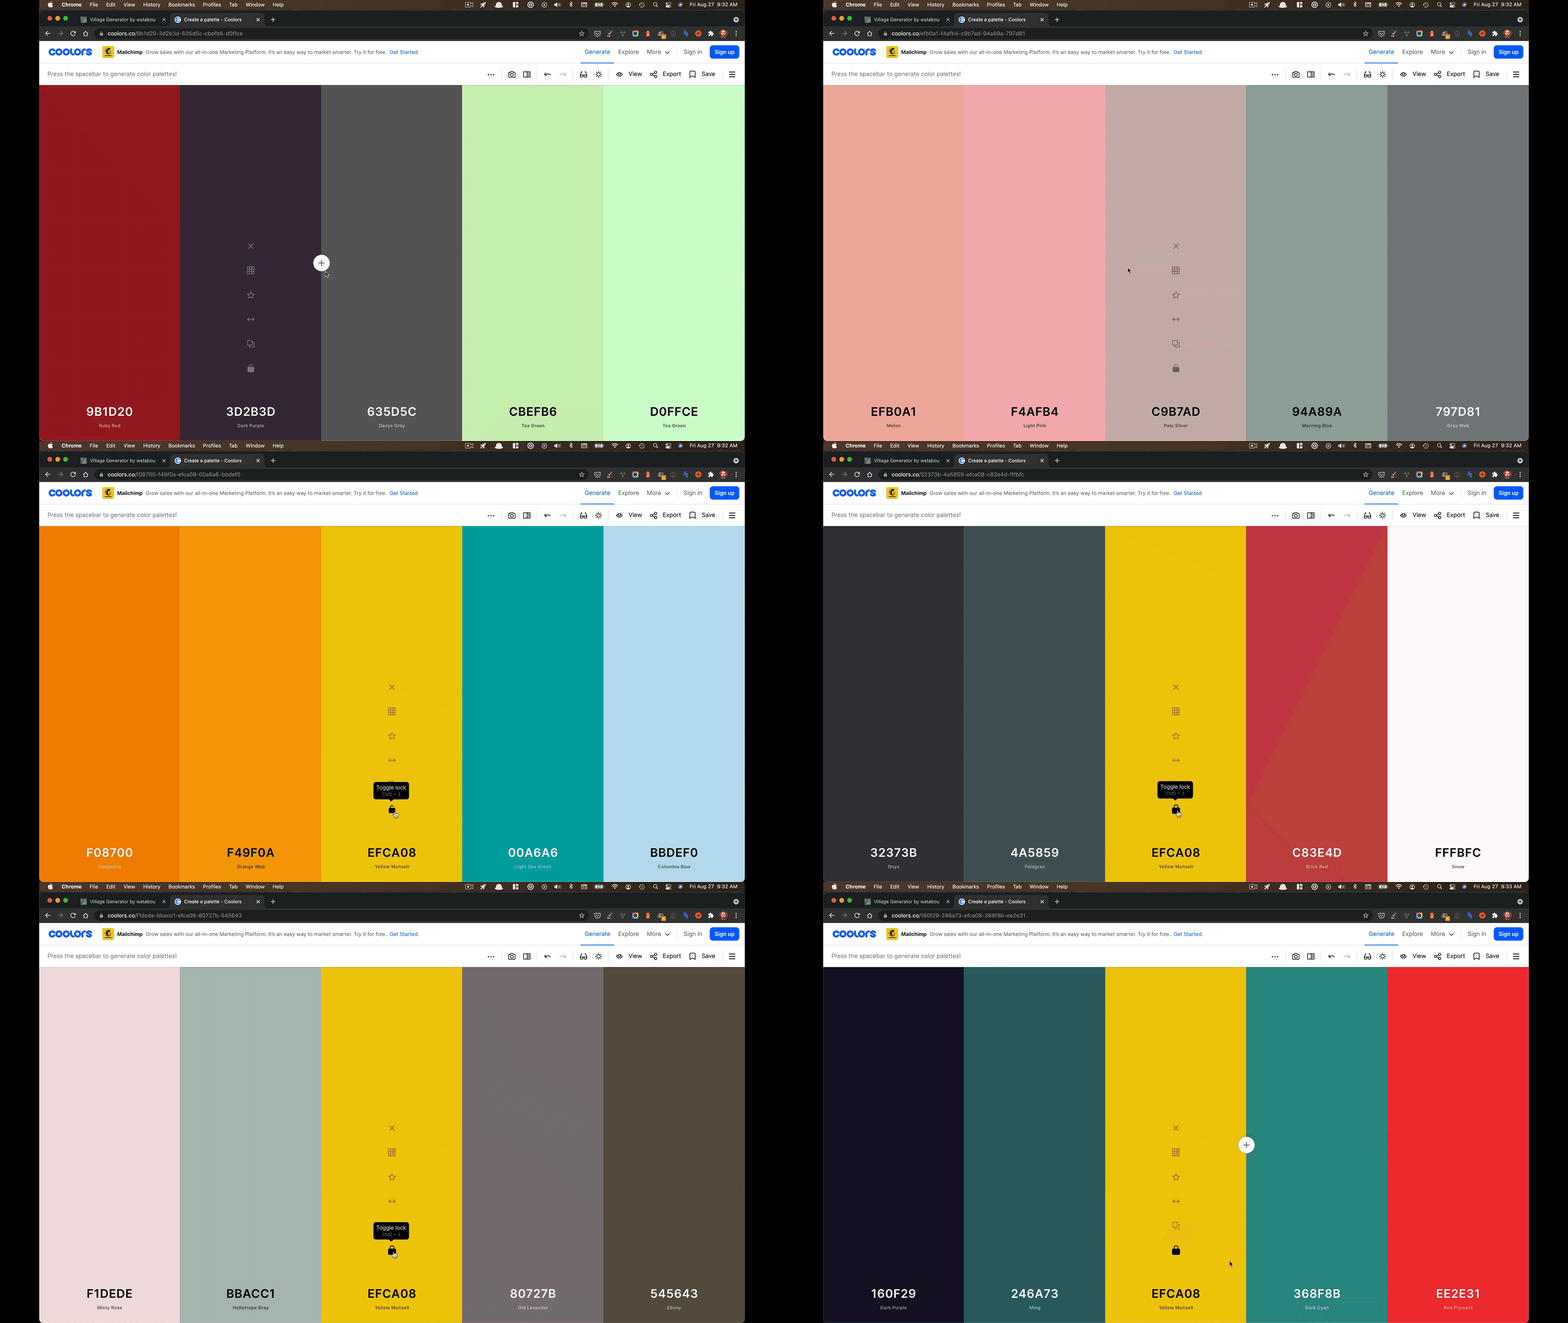
Navigate to the Coolors website, click on 'Generate' in the menu bar, then start pressing your SPACE bar. The magic here is that all the color palettes will look professionally composed by default. This tool has solid color theory baked into its algorithm.
There are too many options in this tool to cover today, but I'll highlight a couple of my personal favorites.
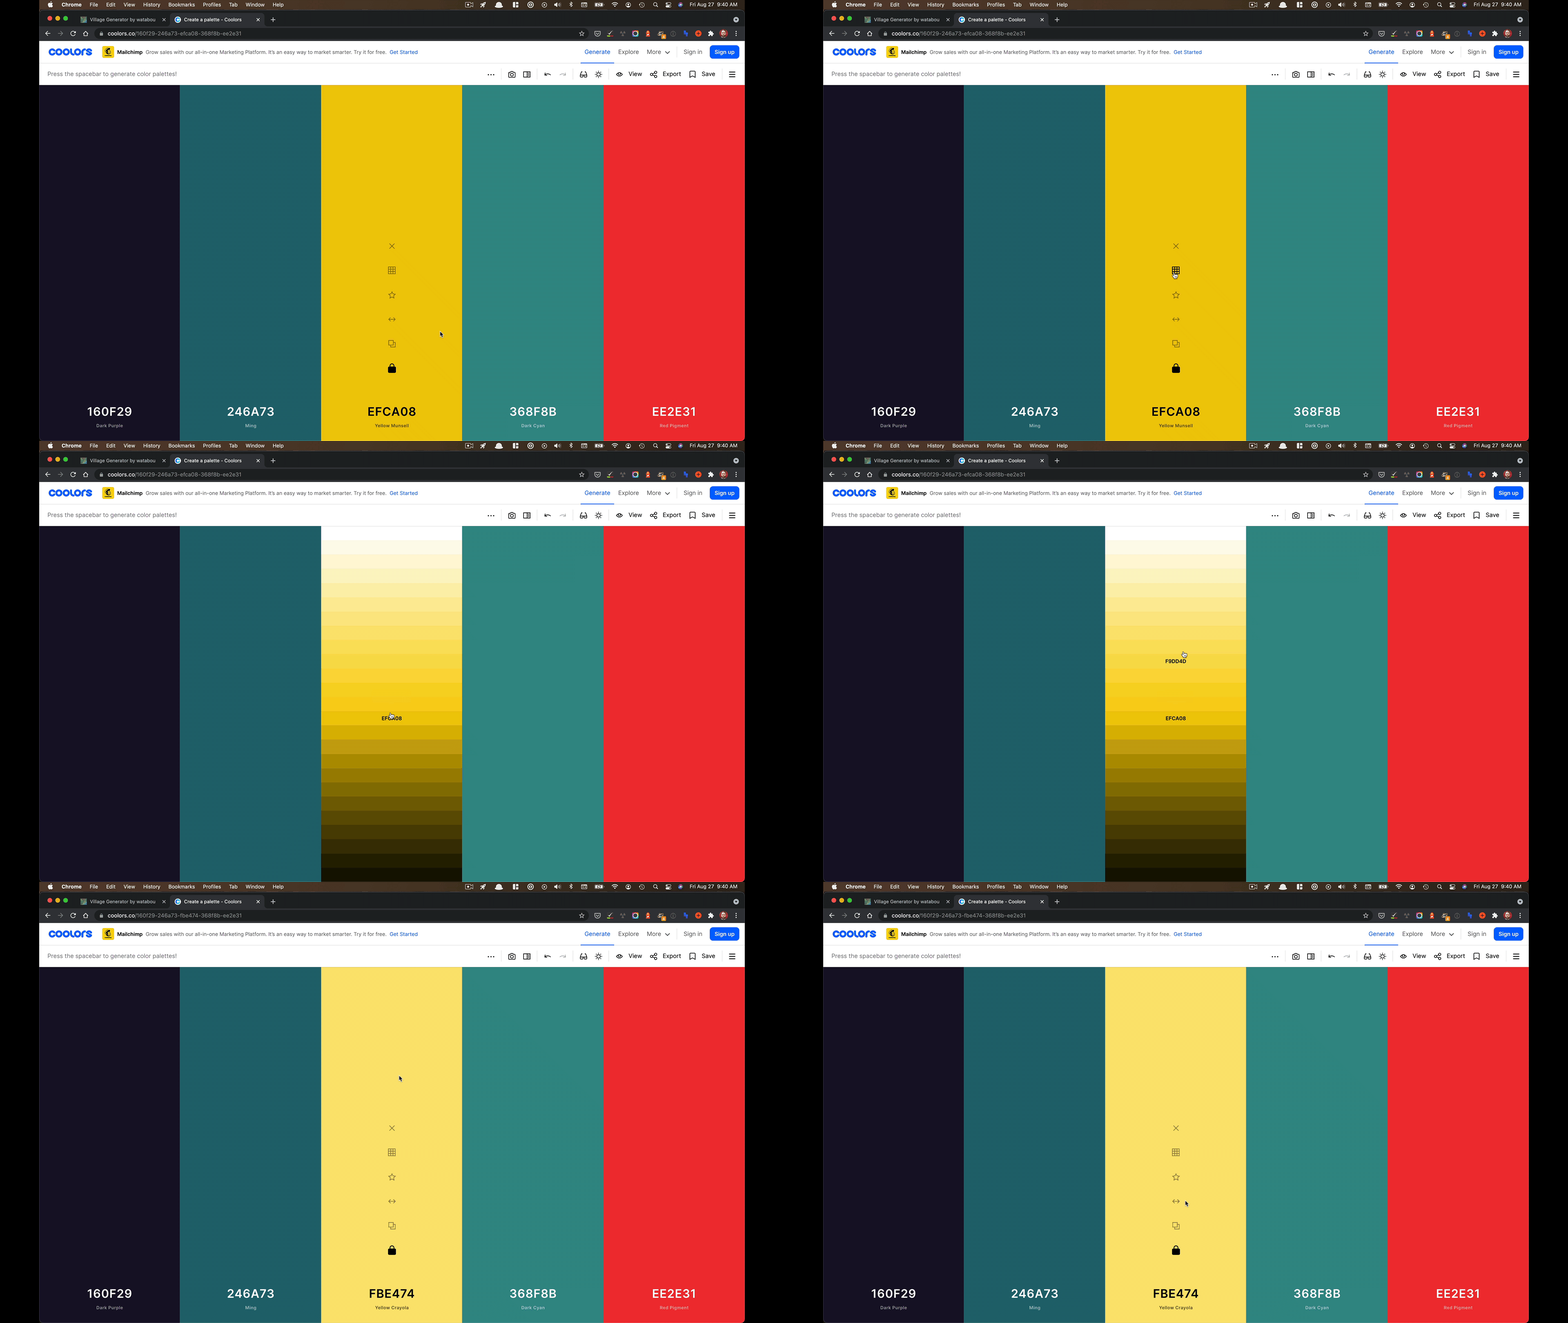
Locking a color
When you see a color you like you can lock it in place. After that, keeping hitting SPACE to get other options that pair well with that color. If your world has a certain overall tone to it, this would be a great way to set a base color you want to work off of.
Changing shades
I often want a darker or lighter version of a color. Coolors has a convenient shades features to let you quickly see those options, and pick one.
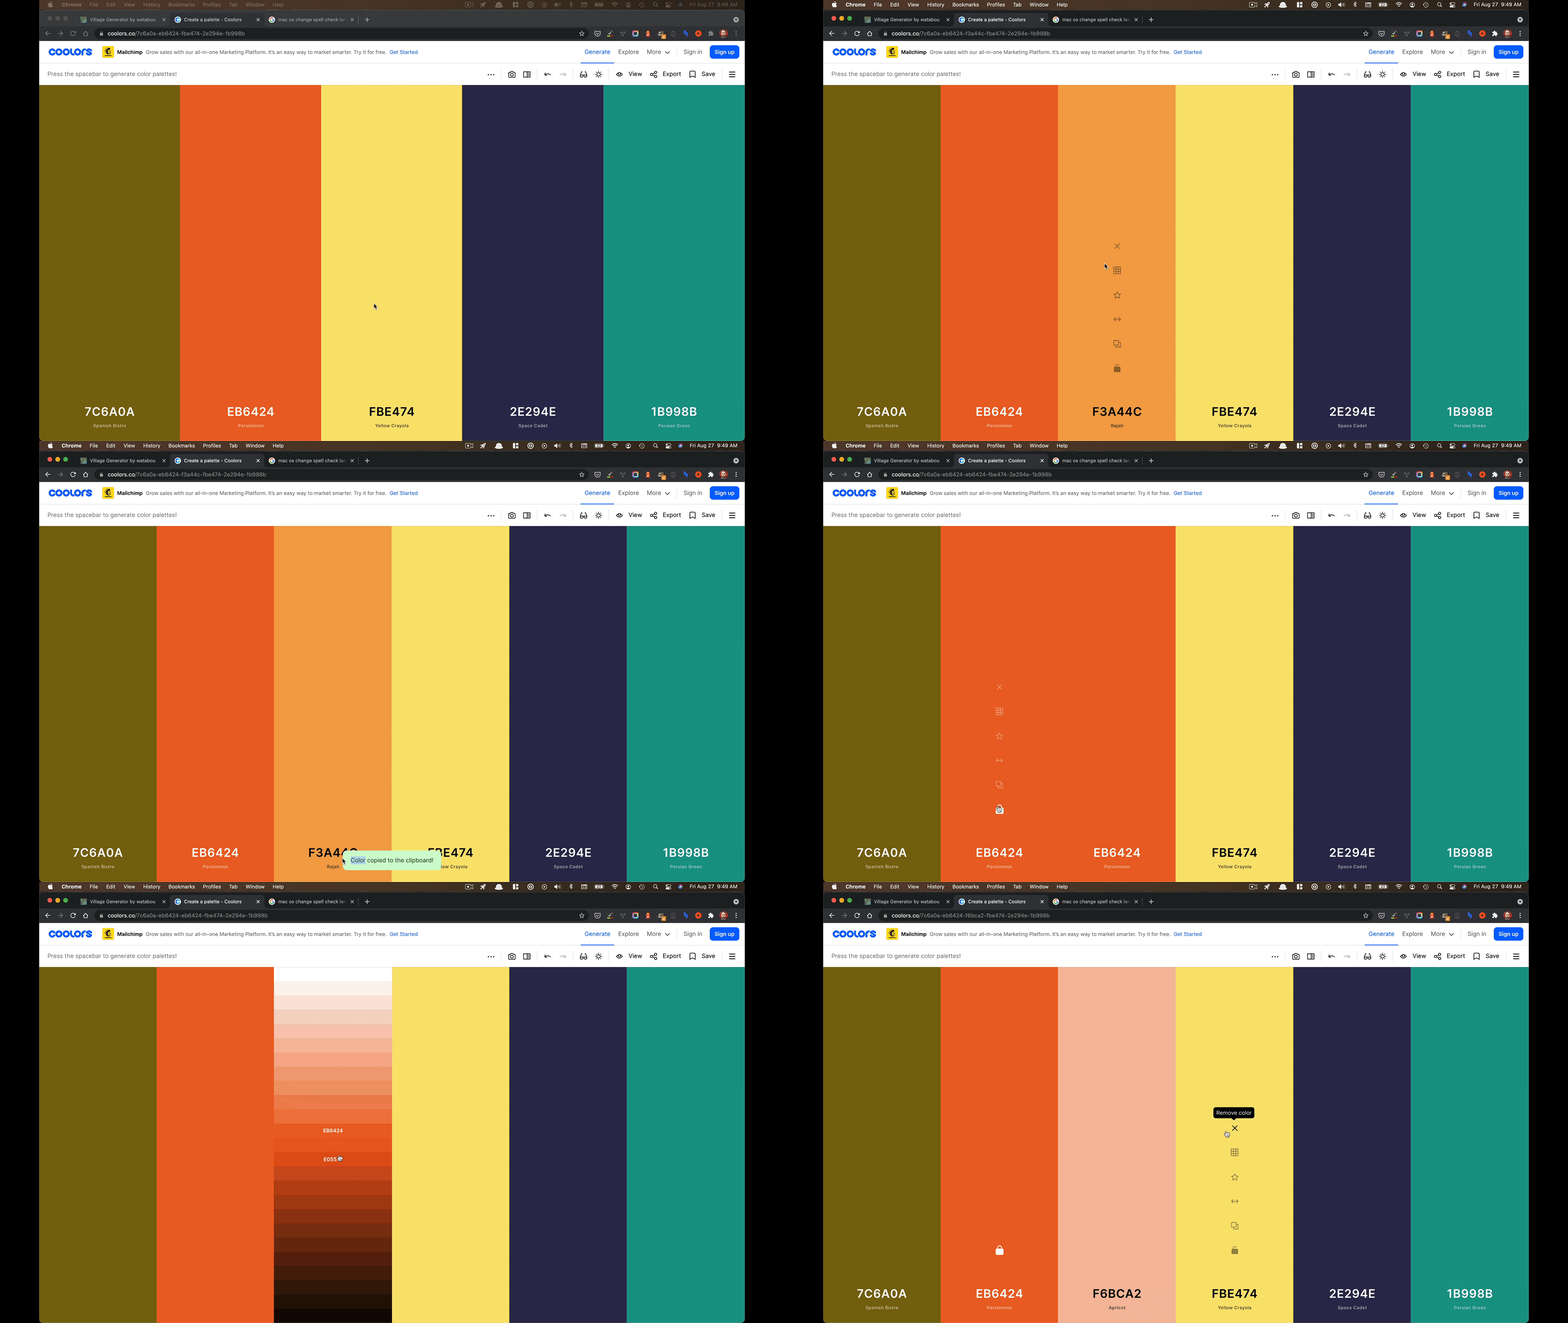
Adding neighbor color
Coolors lets you quickly add a new color column beside an existing one. It will automatically expand the palette and give you another great color created from a blend of the colors it appears between.
The way I most often use it is to quickly generate more shades of a color I like. I will see a color I like, lock it, add a neighbor, then paste it. I can then edit shades without losing my original reference color.
Step 3: Bring colors to your village map
Now that we have some interesting colors that fit the mood of our world, it's time to bring them into the village. To do this we will go back to the village generator, and open the "Style Settings..."
This pulls up a big menu. There are a number of HEX codes for each part of the map you can change. There are also tabs at the top that segment the colors into different areas such as Terrain, Houses, Fields, and so on.
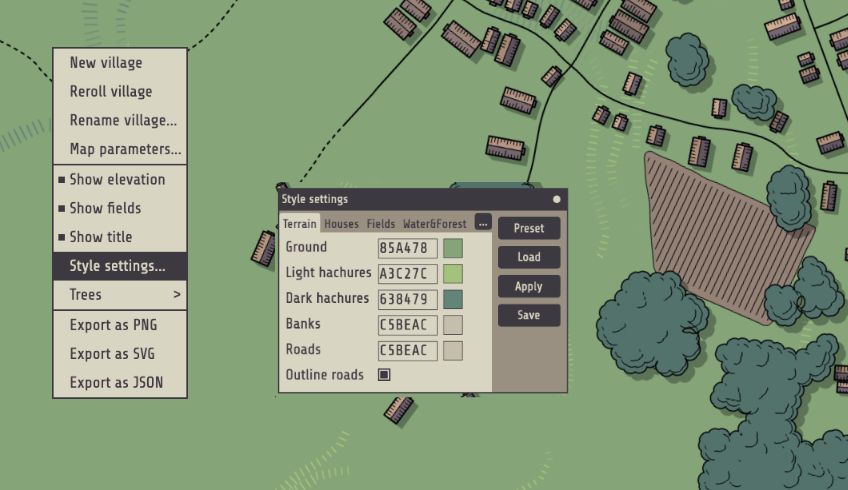
For the sake of brevity, we won't go through every color option. The fastest way to see results is to focus on only a few options first. These options have a huge effect because they cover the largest visible areas of the maps. I recommend only changing these color options to start with:
- Terrain > Ground
- Houses > Light roof
- Houses > Dark roof
- Water & Forest > Shallow water
- Water & Forest > Deep water
- Water & Forest > Light forest
- Water & Forest > Dark forest
Once you are happy with the overall tone, you can change the other options to dial in the more nitpicky details. I'm sure you will have fun tinkering.
Notice that many of these are complimentary pairs: Light/dark roof, shallow/deep water, and light/dark forest. If you want to have a map that looks natural, you should use different shades of the same color for each of these pairings. Of course you can also ignore this rule and create a world that looks quite alien - the creative choice is yours!
The last animation shows a demonstration of how I work with the map style settings and Coolors to rapidly design the whole village. To summarize, my overall process looks like this:
- Put the two generators side by side.
- Generate a village map I like in Watabou's village generator
- Generate an interesting color palette in Coolors. I usually look for a green or blue as an anchor because I prefer colors that appear in nature on planet Earth and I know those will be the most prominent map colors.
- Pull up the "Style Settings" in Watabou. Use the 'Copy HEX' option from Coolors to start pasting colors into the map. Focus on the main color settings I listed above. Don't forget to click "Apply" in Watabou to actually see the colors change!
- When I find a nice color, use the approach in Adding a neighbor color to find alternate shades. Shades work well for the complementary pairings (eg. shallow/deep water). Weirder color pairings can work well on the Houses because they don't take up as much visual space, and houses are probably painted by sentient beings so they can appear less 'natural'.
- Keep working through the main color settings. Lock colors as I go to keep the best options.
- Fine tune the less important color settings if necessary (usually I don't need to). Export as PNG > Convert to JPG > Upload to LegendKeeper and start writing!

Thanks for reading the inaugural edition of the LegendKeeper Worldbuilding Newsletter. Special thanks to Watabou and Fabrizio for making such incredible tools for rapid worldbuilding.
